Questa è una vecchia versione del documento!
Indice
Instructions for the new VPN UNITN service
The VPN service allows access to internal resources of the UniTN network from external locations. It is based on SSL encryption.
For the usage and configuration of the VPN you have to install Pulse Secure, visit the right section:
| Operating System | Supported Client | Instructions |
|---|---|---|
| Windows, Macosx | Pulse Secure | Pulse Secure Desktop |
| Linux | Pulse Secure | Pulse Secure Linux |
| Mobile devices (Smartphone & Tablet) | Pulse Secure | Pulse Secure Mobile |
NEWS: The new version for linux (5.3r4.1) is 64bit native and provide a stable connection.
MACOSX, Windows (Pulse Secure)
For Mac and Safari: Warning !!! Be sure that your browser is saving the file with .dmg extension (and not .exe) as “pulse.dmg”.
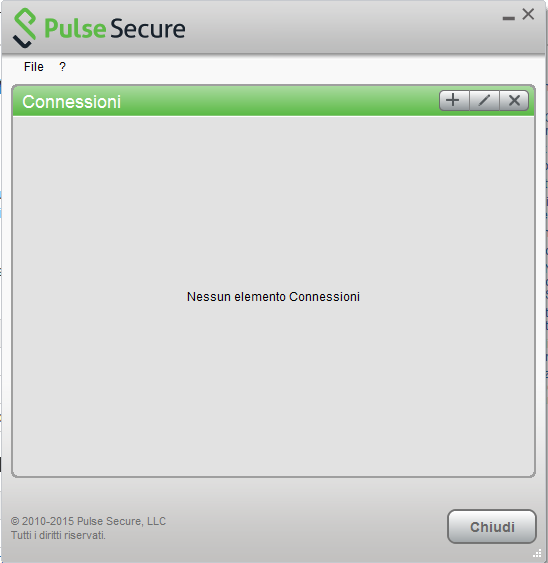
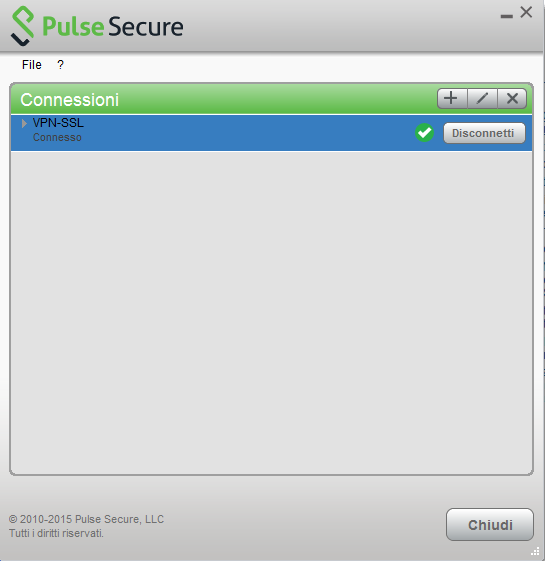
After the installation, launch the Pulse Secure Application, the main screen appears:
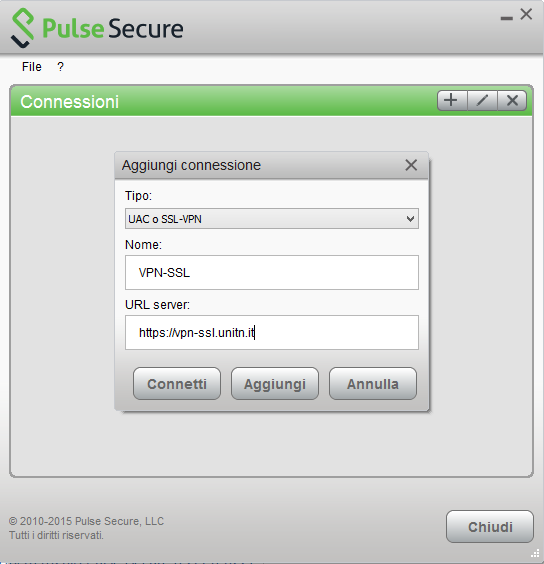
Create a new connection by clicking the '+' sign and entering the following parameters:
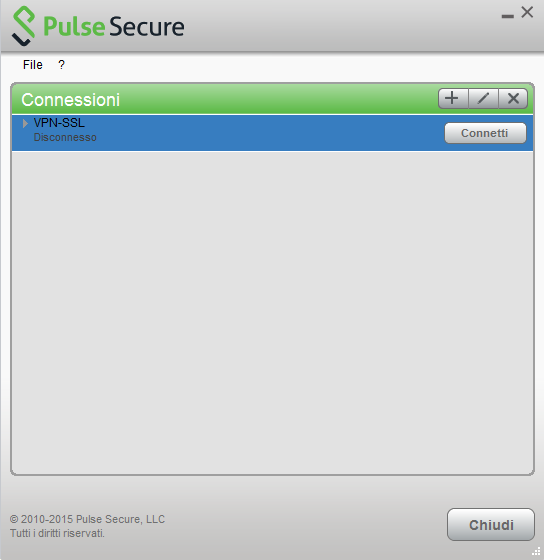
To start the connection, click on <Connect>
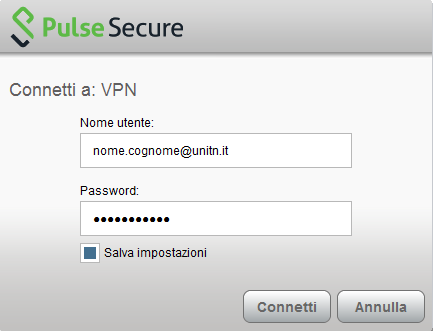
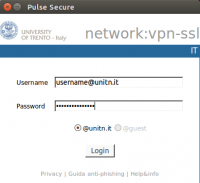
Fill the form with the username (@unitn.it) and password:
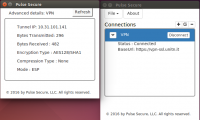
The connection is established, you can stop the vpn clicking on <Disconnect>
You can see the Pulse Secure notification icon in the lower right area:
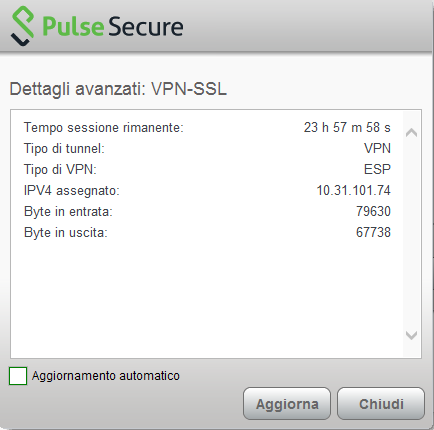
You can show a status window from File→Connections→Advanced Connection Details…
Linux Pulse Secure Client
NEWS: The new version for linux (5.3r3) is 64bit native and provide a stable connection.
Download the package installer to the Linux client then run the installer using the following command:
Debian-based Linux (Ubuntu):
dpkg -i <package name>
RPM-based Linux (CentOS):
rpm -ivh <package name>
For example, if the Pulse Linux client is saved in /$HOME/Downloads on Ubuntu, then the command would be:
sudo dpkg -i /$HOME/Downloads/ps-pulse-linux-8.2r4.0-b47329-ubuntu-debian-installer.deb
Install the dependencies:
user@host:~$ sudo /usr/local/pulse/PulseClient.sh install_dependency_packages
if you want to launch the UI from a command line (/usr/local/pulse/pulseUi) you have to export this library path:
export LD_LIBRARY_PATH=$LD_LIBRARY_PATH:/usr/local/pulse
Or you can launch Pulse from your Applications by clicking on the Pulse icon.
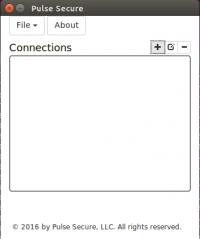
- Main screen
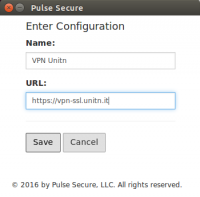
- Create the connection:
- Login:
- Connection state:
If you don't want to use the UI, use the following command to launch the VPN client (you will be asked for the UniTN password):
/usr/local/pulse/PulseClient.sh -h vpn-ssl.unitn.it -u nome.cognome@unitn.it -U https://vpn-ssl.unitn.it -r AR-unitn-ldap-ad
Foe example::
user@host:~$ /usr/local/pulse/PulseClient.sh -h vpn-ssl.unitn.it -u username@unitn.it -U https://vpn-ssl.unitn.it -r AR-unitn-ldap-ad
Reading package lists... Done
Building dependency tree
Reading state information... Done
lib32z1 is already the newest version.
libc6-i386 is already the newest version.
0 upgraded, 0 newly installed, 0 to remove and 557 not upgraded.
executing command : /usr/local/pulse/pulsesvc -h vpn-ssl.unitn.it -u username@unitn.it -U https://vpn-ssl.unitn.it -r AR-unitn-ldap-ad
VPN Password:
After few seconds the vpn connection is established, you have to leave this terminal window open and you can monitor the connection from another terminal window with the command:
user@host:~$ /usr/local/pulse/PulseClient.sh -S

Connection Status :

         connection status : Connected
         bytes sent : 1722
         bytes received : 2586
         Connection Mode : ESP
         Encryption Type : AES128/SHA1
         Comp Type : None
         Assigned IP : 10.31.0.80
To kill the connection:
user@host:~$ /usr/local/pulse/PulseClient.sh -K
Mobile Devices
REQUISITI
- iPhone, iPod Touch, iPad
- Android devices 4.0 or higher
- Windows Mobile 6.5
INSTRUCTIONS: (screenshots related to Android version 5)
- Install the app “Pulse Secure” from ther App Store or Google Play
- Start the application “Pulse Secure”
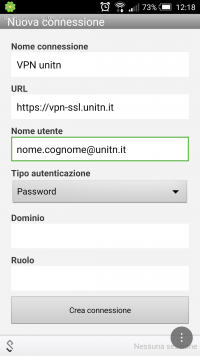
- Create a new connection by entering:
- “Connection Name” (your choice)
- “URL”: https://vpn-ssl.unitn.it/
- “User Name” (in the form username@unitn.it)
- Touch on “Create Connection”
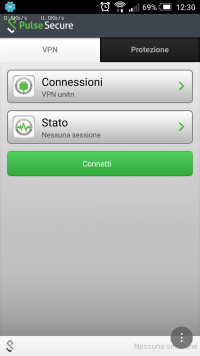
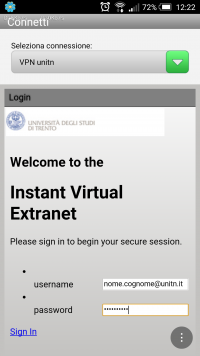
- Tap on “Connect”, enter your password and select “Sign In” (possibly accept the warning about security and trusted application)
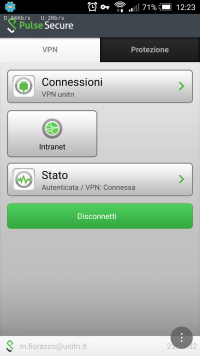
- after a while, the connection is established, verify it by tapping on “Status”
- to terminate the session, tap on “Disconnect”
Features of vpn-ssl service
IP addresses assigned to the clients
To connected vpn clients is assigned an ip in the range from 10.31.0.10 to 10.31.0.254
"split-tunnel" mode
The VPN connection provides traffic directed to intranet IP using the VPN tunnel while traffic to other networks (eg Internet) is provided by standard client connection (eg ADSL at home).
NB: the routing change doesn't affect the already “established” connections at the moment of the connection
User-side Firewall rules
VPN traffic is encrypted in SSL and uses TCP destination port 443. For the ESP mode (which increases performance) you must open the UDP destination port 4500 too.

